This guide will instruct you to create a single channel DIY LoRaWAN Gateway
- The gateway will forward sensor data from LoRaWAN node to Easy LoRaWAN Cloud.
This is for DIY purpose. For commercial products, please check our Products.
- Hardware: Any ESP32 Dev board
- Level: Basic knowledge of Arduino IDE
- Source code at: EasyLoRaWAN
- Ask question at: Easy LoRa Facebook group
Steps
- The original project is at ESP-1ch-Gateway
- You need to install Arduino IDE and ESP32 environment at: Setup-Arduino-IDE-and-ESP32
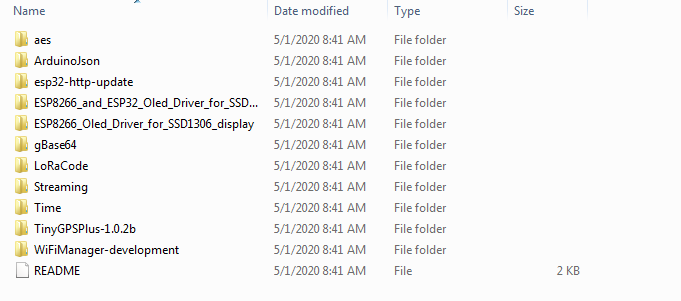
- Unzip the lib.zip at EasyLoRaWAN and copy all the subfolders into your Arduino IDE library at C:\Users\your-Windows-user\Documents\Arduino\libraries
4. Wire your píns from SPI LoRa SX1278 to ESP32 is below:
- SCK: 18
- MISO: 36
- MOSI: 5
- RST: 13
- SS: 23
- DIO0: 39
- DIO1: 39 (Not connected)
- DIO2: 39 (Not connected)
Or you can change your own pin mapping at loraModem.h#L260 (Not recommended)
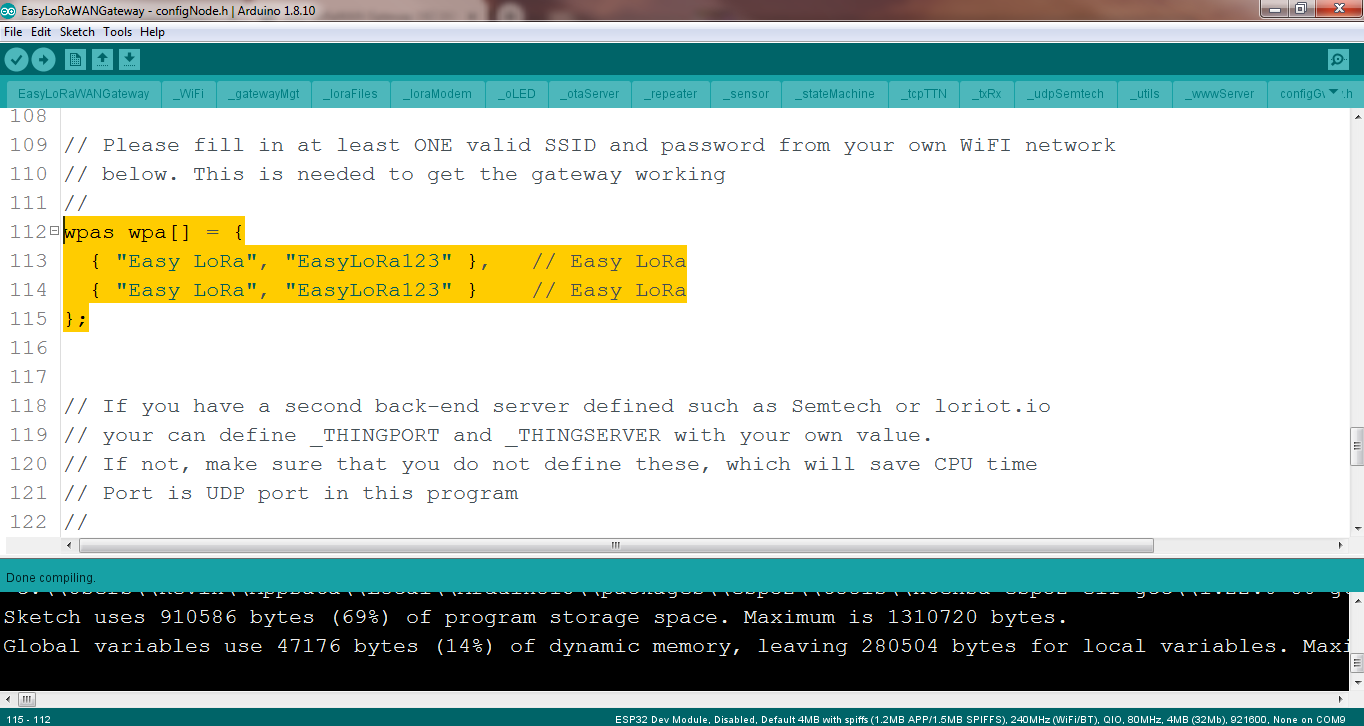
5. Search for SSID and change the WiFi Name/Password. You can specify two WiFis.
6. The default LoRaWAN settings
- LoRaWAN server: easylora.vn
- TX and RX frequency: 433175000
- Spreading Factor: SF 9
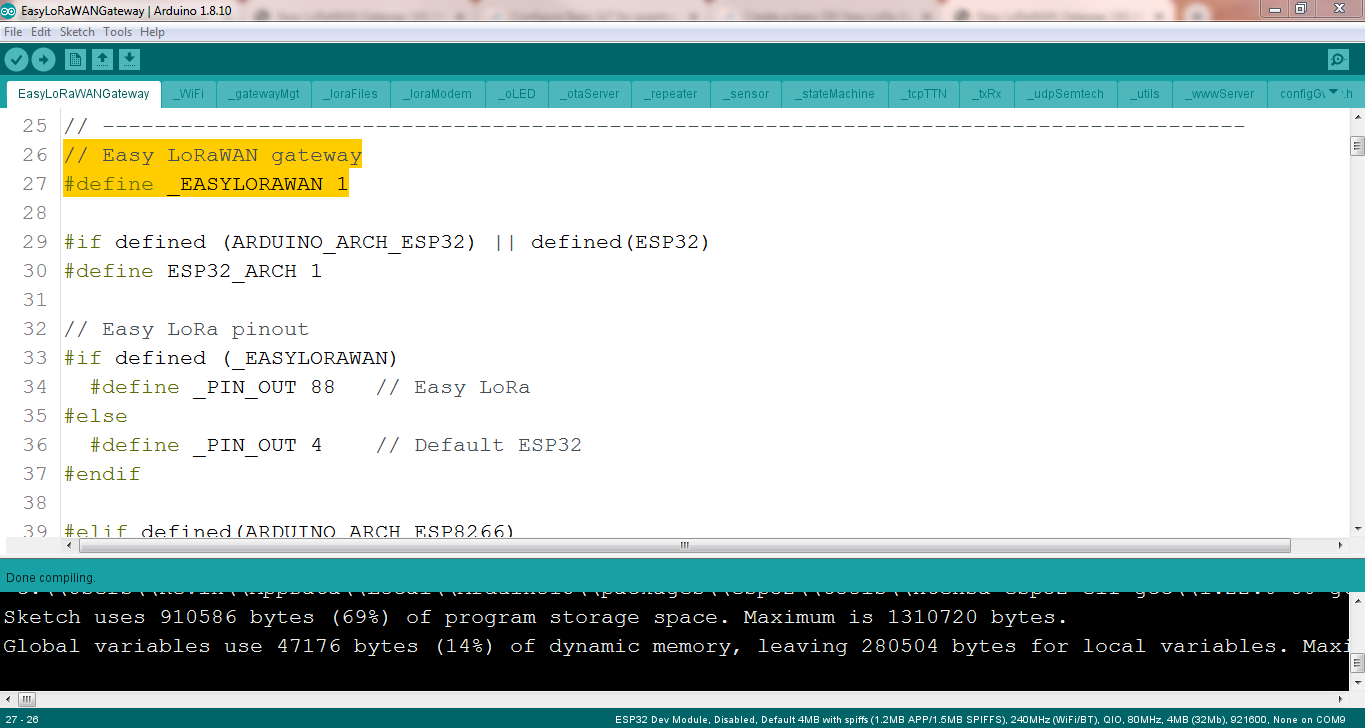
7. Compile the source code and upload to ESP32
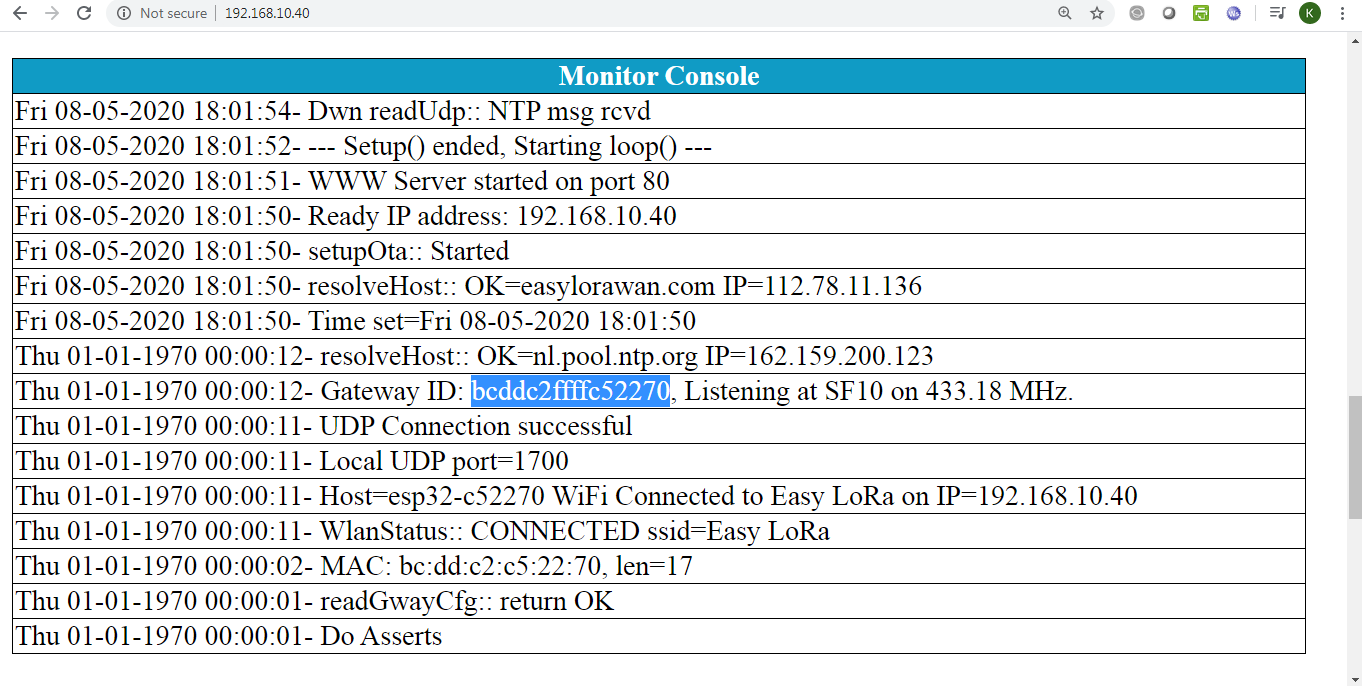
8. Your gateway will get DHCP from WiFi. Enter http://your-gateway-ip to see the management GUI.
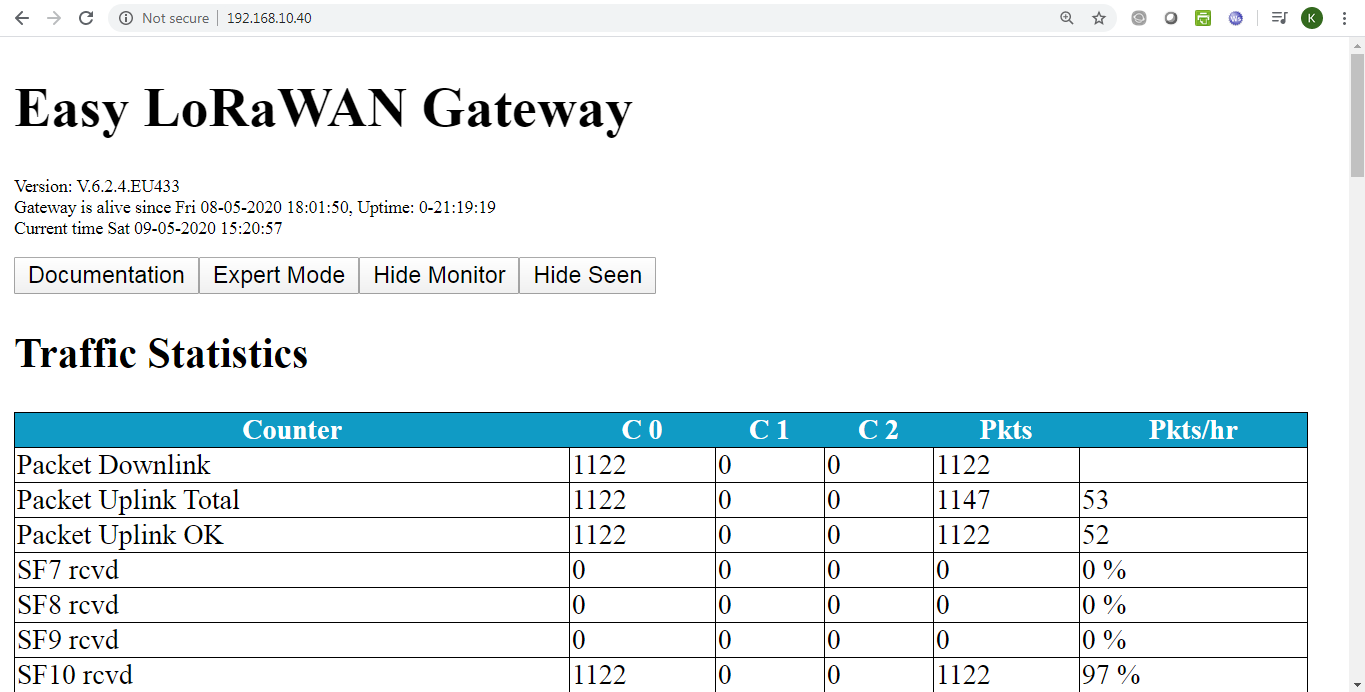
9. Take note your Gateway ID, you will need it to join LoRaWAN server.
10. Done. Enjoy.
Want to VISUALIZE data?
Subscribe Easy LoRaWAN Cloud to try all the guides and visualize data from your LoRaWAN nodes. We will actively assist you to deploy your initial LoRaWAN setup.

