This guide will intruct you to create a DIY LoRaWAN Node to send “Hello World” to DIY LoRaWAN gateway.
- The node uses LoRaWAN standard and compatible with our LoRaWAN infrastructure.
This is for DIY purpose. For commercial products, please check our Products.
- Hardware: Any ESP32 Dev board
- Level: Basic knowledge of Arduino IDE
- Source code at: EasyLoRaWAN
- Ask question at: Easy LoRa Facebook group
Steps:
- Download the modified arduino-lmic-master.zip. The zip is modified with 433Mhz. The original library is at IBM LMIC.
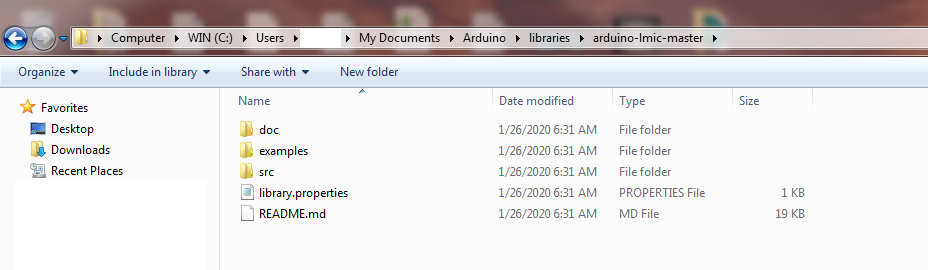
- Unzip into Arduino IDE folder. The folder should be at C:\Users\USERNAME\Documents\Arduino\libraries
- Download the source code of EasyLoRaWANNode.zip and unzip it.
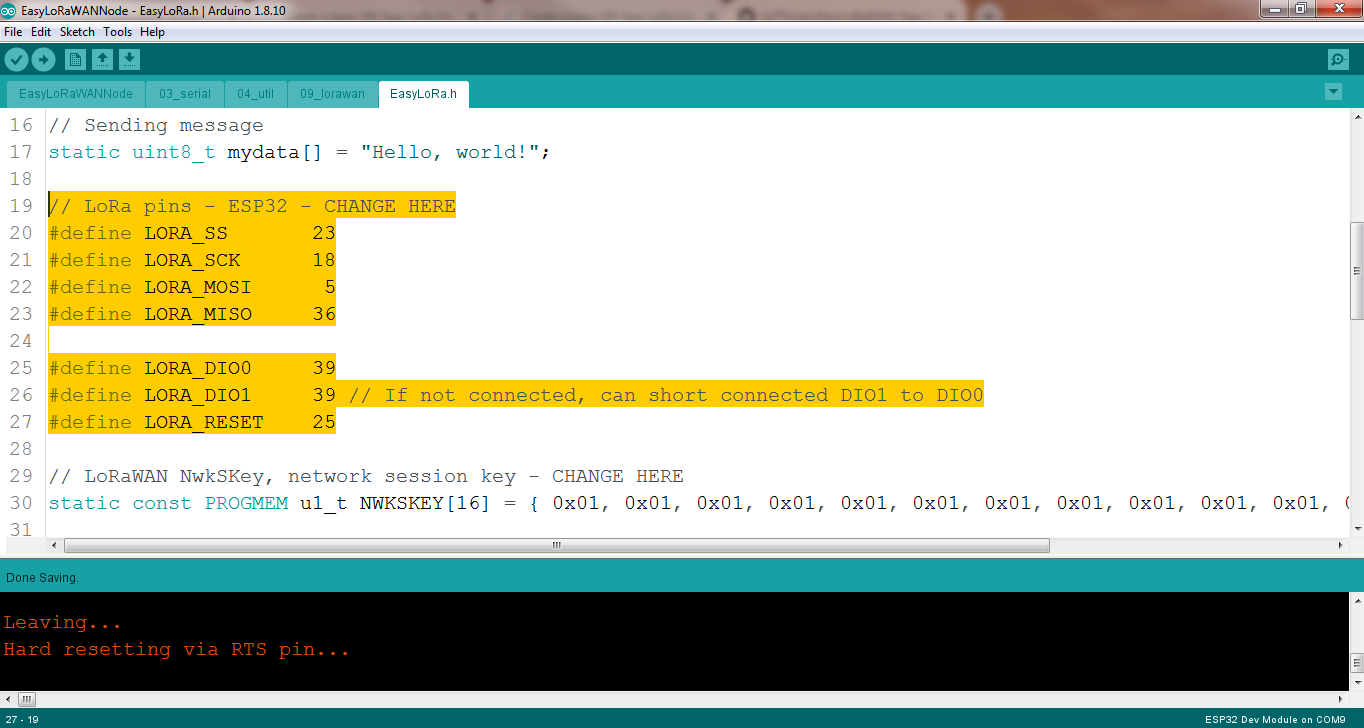
4. You need to modify the GPIOs to fit your pin mappings from your board to your LoRa SX1278. If you do not have DIO1 connected, you can short-circuit DIO0 and DIO1.
You can modify mydata to your custom sensor data.
5. You can keep the Network session key and Application session key default for testing only. In production, you MUST change it to a secret value.
6. Turn on the board and you should see the Device EUI and Device Address in the console. Keep it to connect to server.
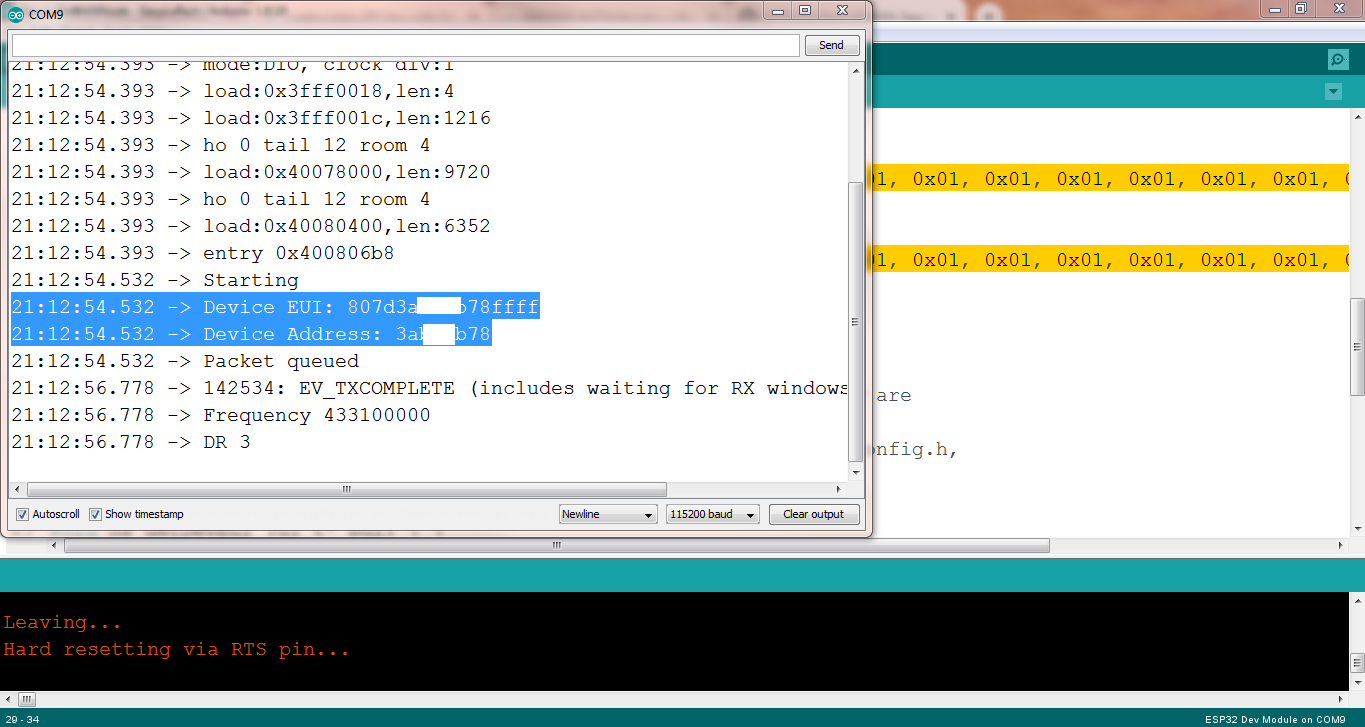
7. If you see a TX_COMPLETE every minute, your board is ready!
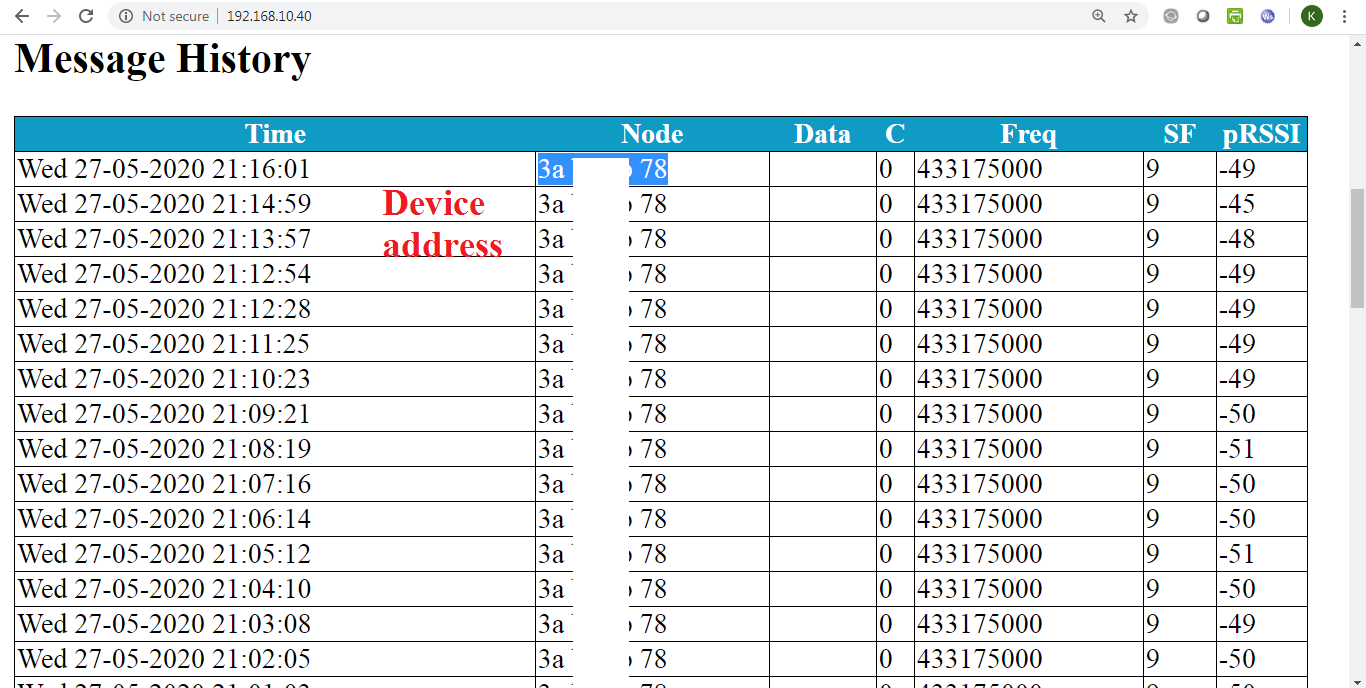
8. Open DIY LoRaWAN Gateway as prepared in tutorial 02, if you see your Device Address in Step 6, your gateway can receive the data from your node.
9. Done. Now you have DIY LoRaWAN Node.
Enjoy.
Want to VISUALIZE data?
Subscribe Easy LoRaWAN Cloud to try all the guides and visualize data from your LoRaWAN nodes. We will actively assist you to deploy your initial LoRaWAN setup.

