To create a Basic IoT (with dummy sensor data), send the data to ThingsBoard and view Historical graph. The sample Basic IoT is simple, configurable and extendable to any WiFi-connected sensors.
- Hardware: Any ESP32 Dev board
- Level: Basic knowledge of Arduino IDE
- Source code at: here
- Ask question at: Easy LoRa Facebook group
Server configuration
- MQTT Server for UI Server: uiserver.easylorawan.com. Port 1883.
Final results
Steps
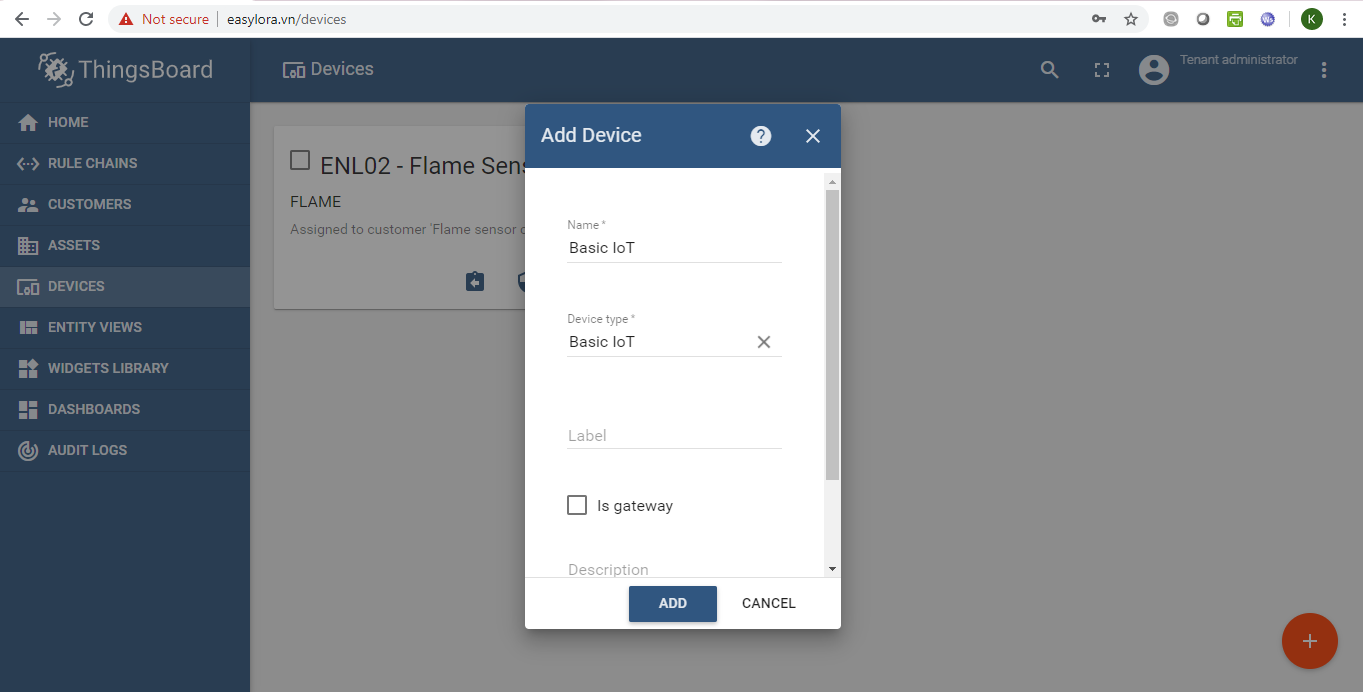
1. Create a Device with any name.
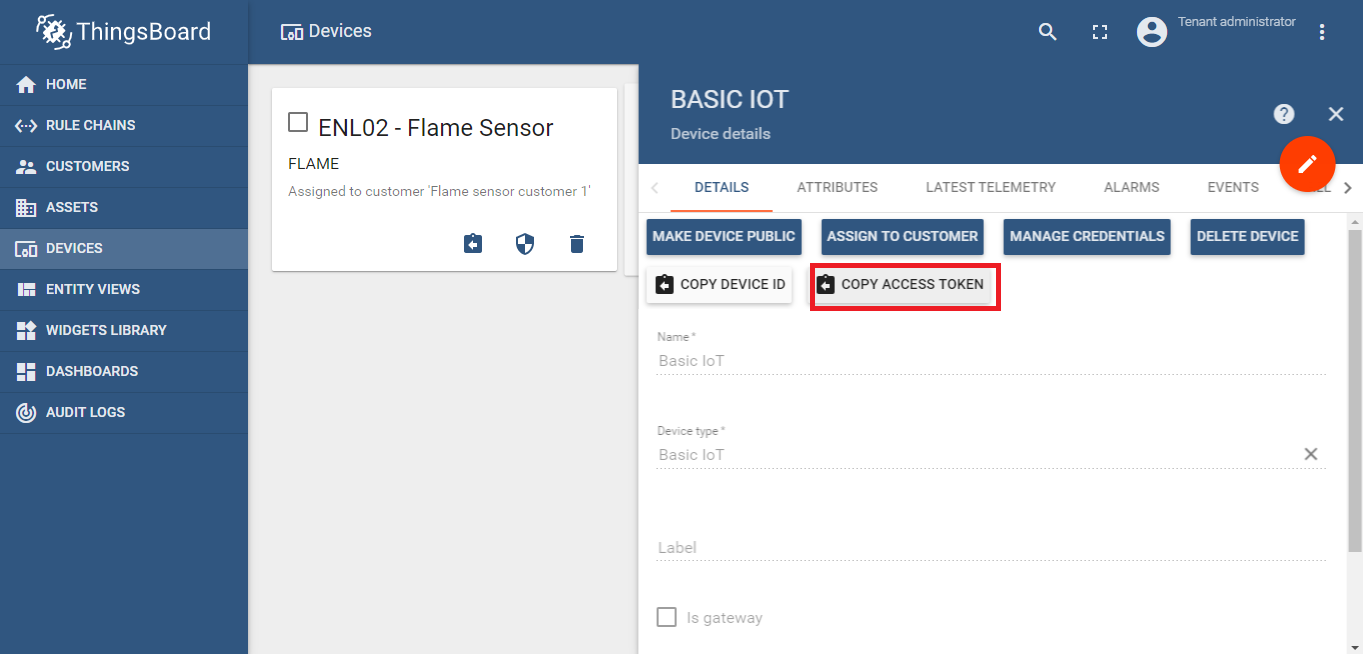
2. Copy the Access Token. It will be in the format yxq…..xMoR0RB4clda
3. Get the source code BasicIoT at the above link.
4. Click on BasicIoT .ino and open with Arduino IDE
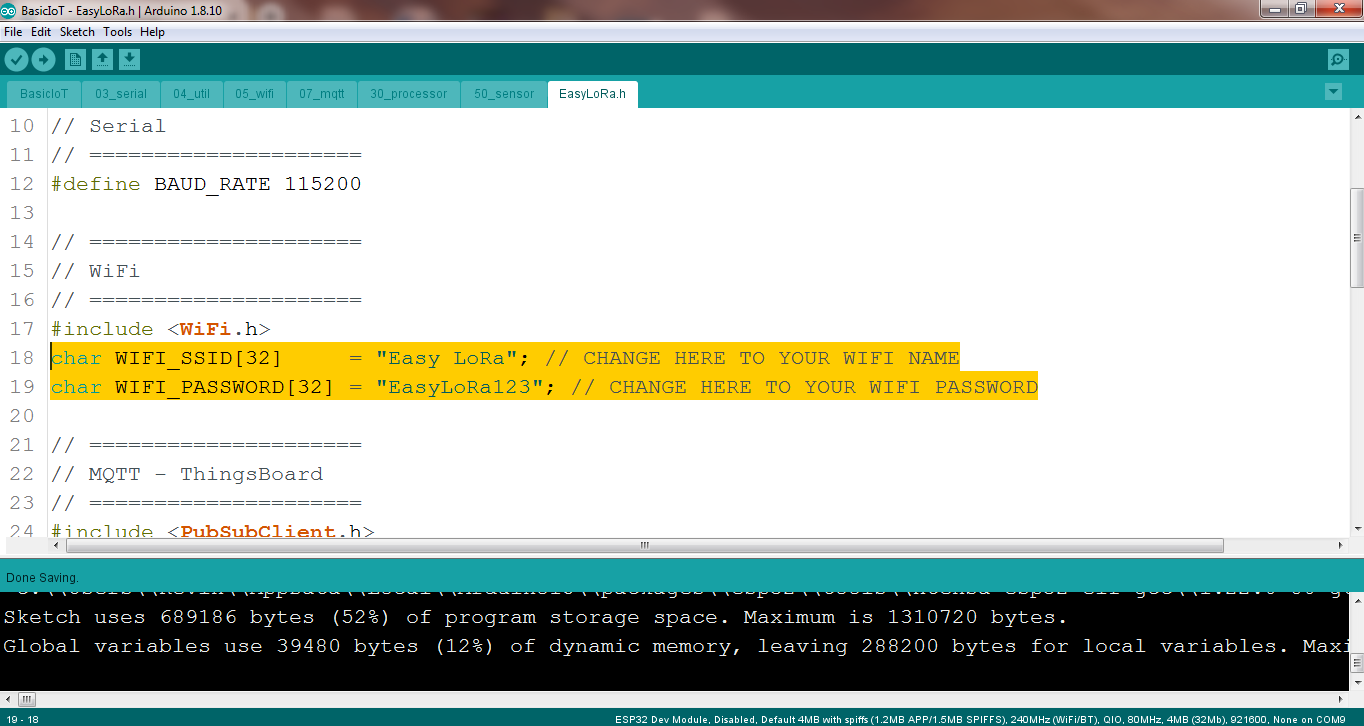
5. Change to your WiFi name and password in EasyLoRa.h
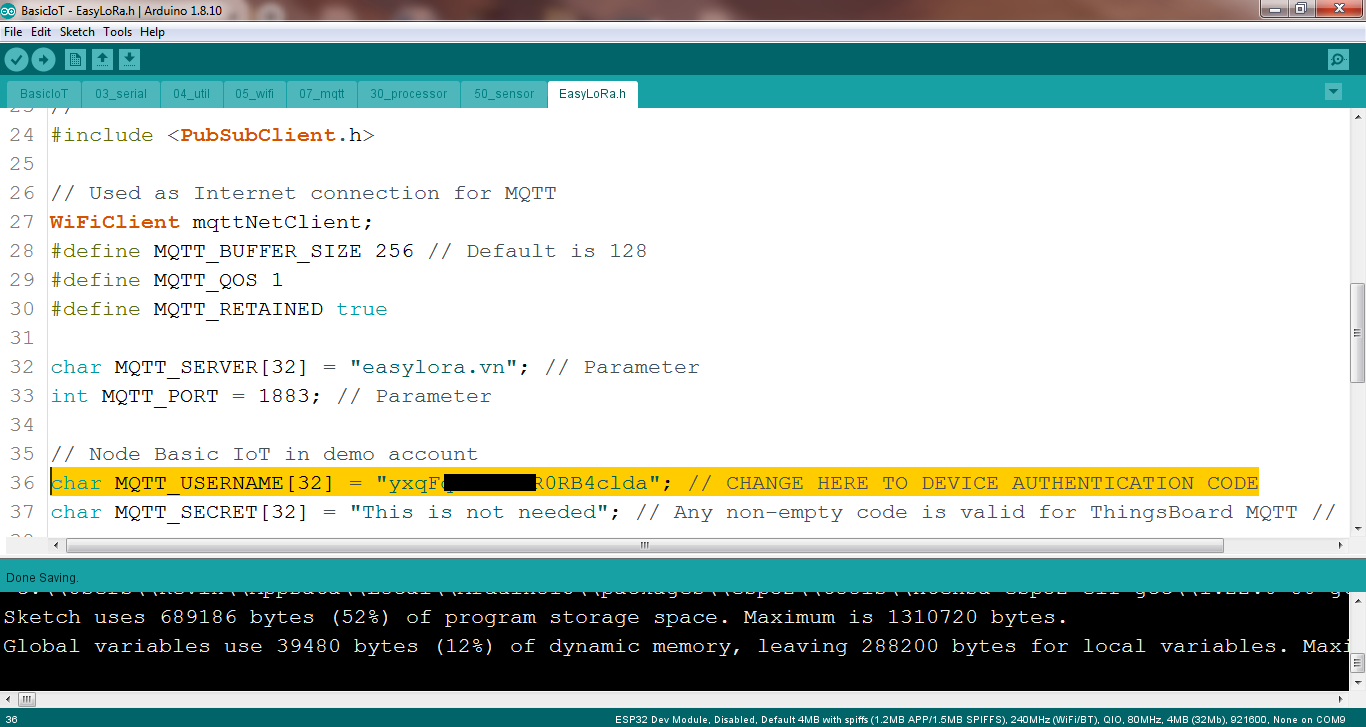
6. Change MQTT_USERNAME to Authentication in step 2.
- MQTT_SERVER is uiserver.easylorawan.com and port 1883.
- MQTT_SECRET (password) is NOT required.
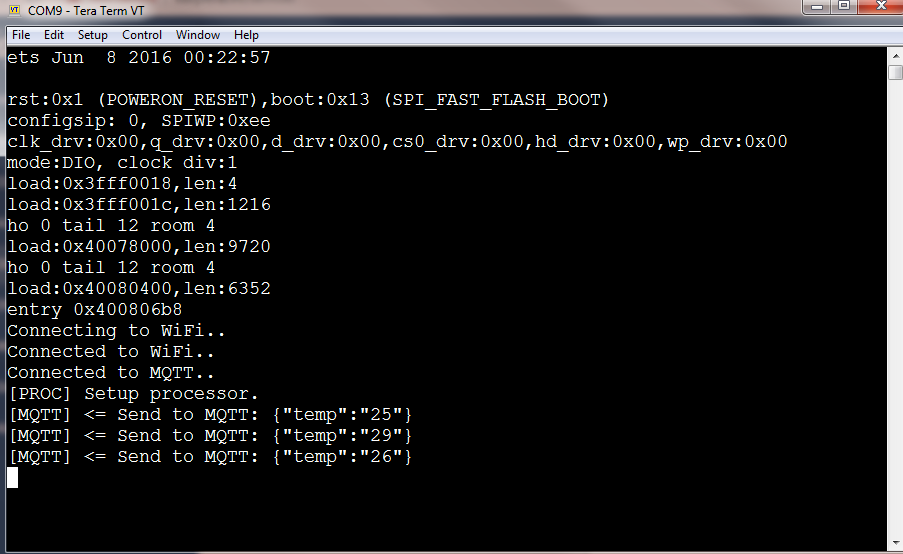
7. Upload the sketch to the board and reset the board. We can see the Serial Console debug log
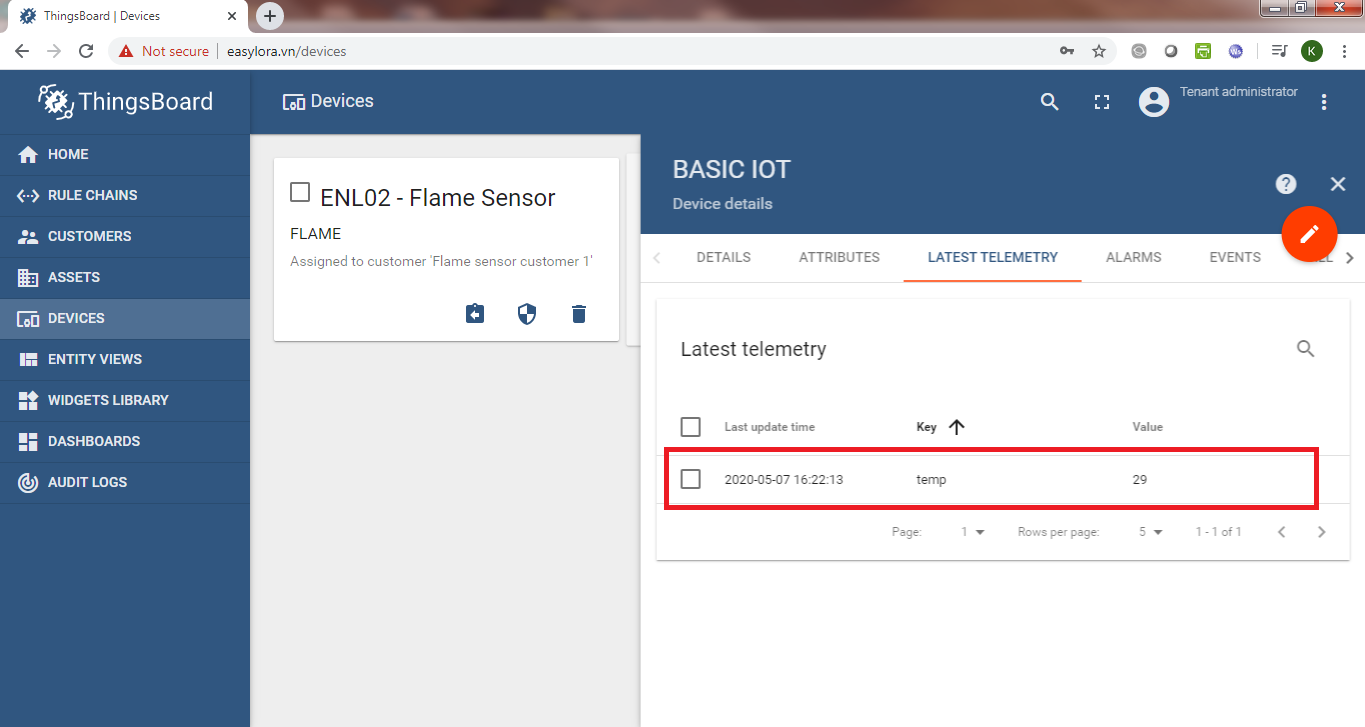
8. Go to Latest Telemetry of device Basic IoT, you should see the telemetry “Temp” with a random value from 25 to 30.
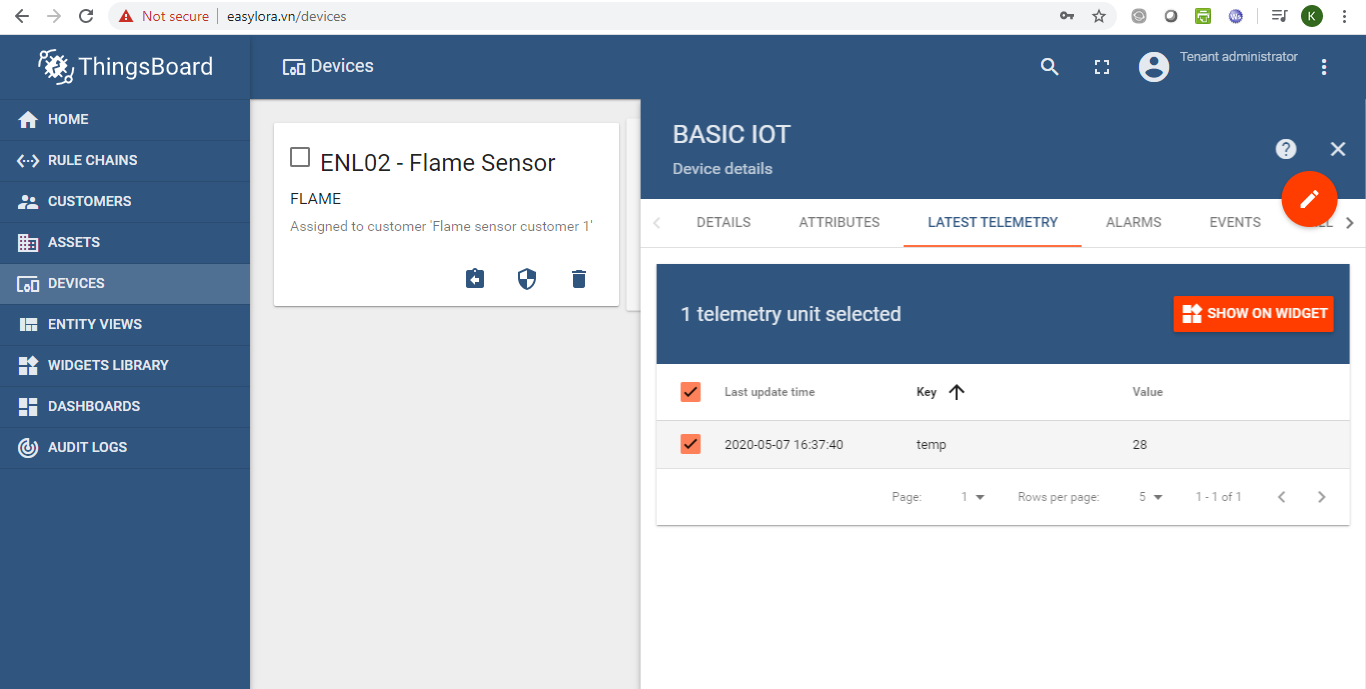
9. To click on the telemetry “Temp” and click “Show on Widget”
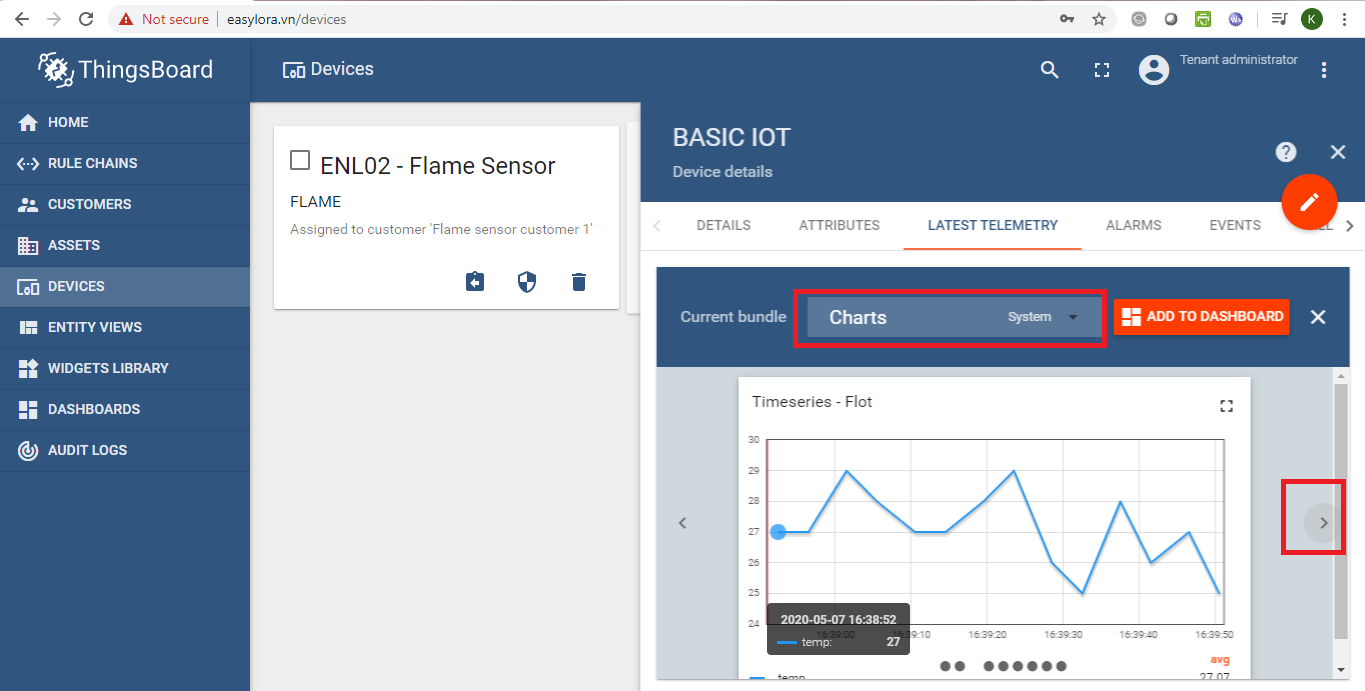
10. Choose Bundle “Charts”, click on the right arrow to select “Timeseries – Flot” and click on “Add to Dashboard”.
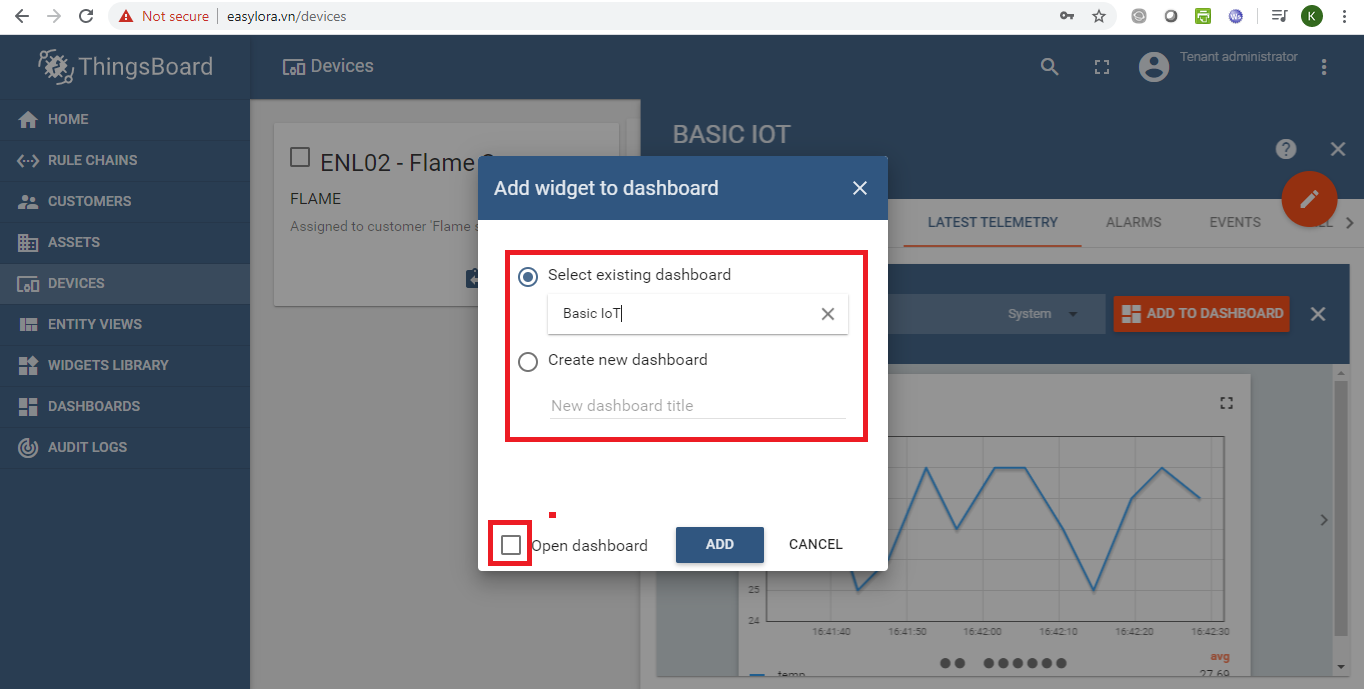
11. Create new dashboard or Select existing dashboard. Then check “Open dashboard”
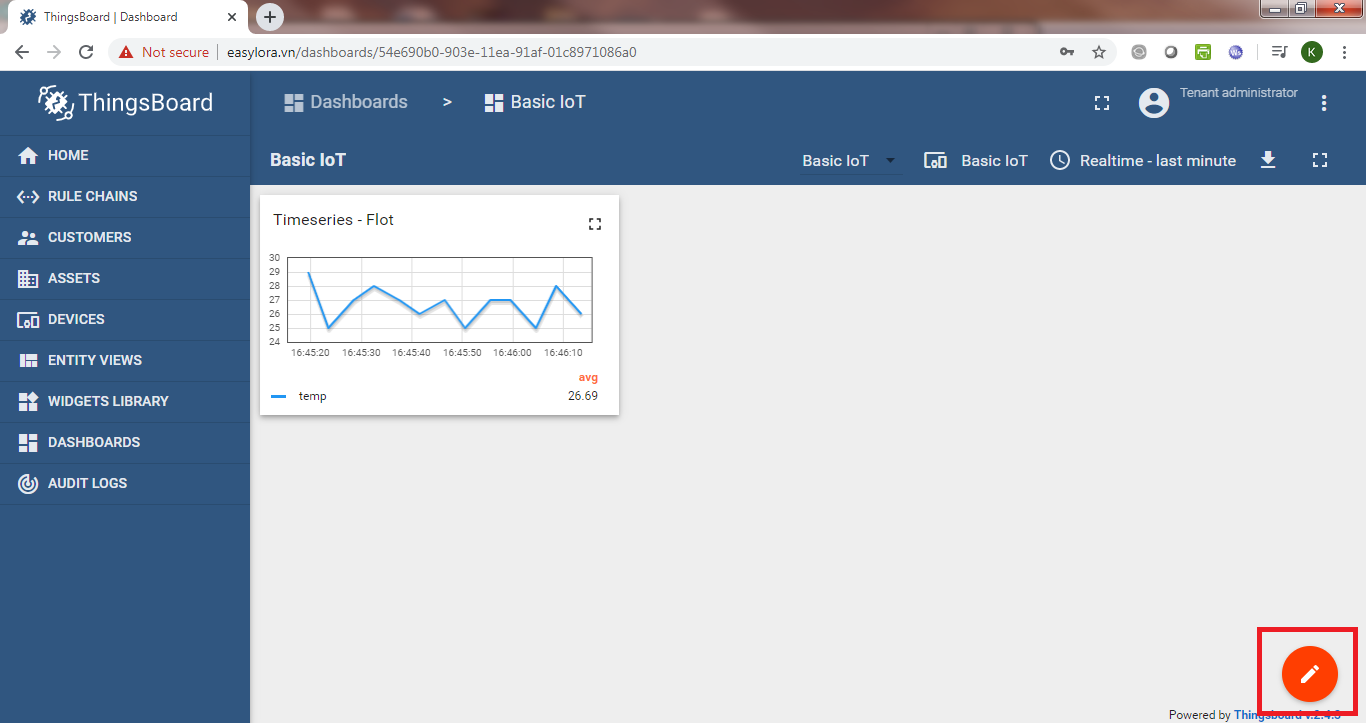
12. Click on Edit icon to resize the Widget or to change other settings
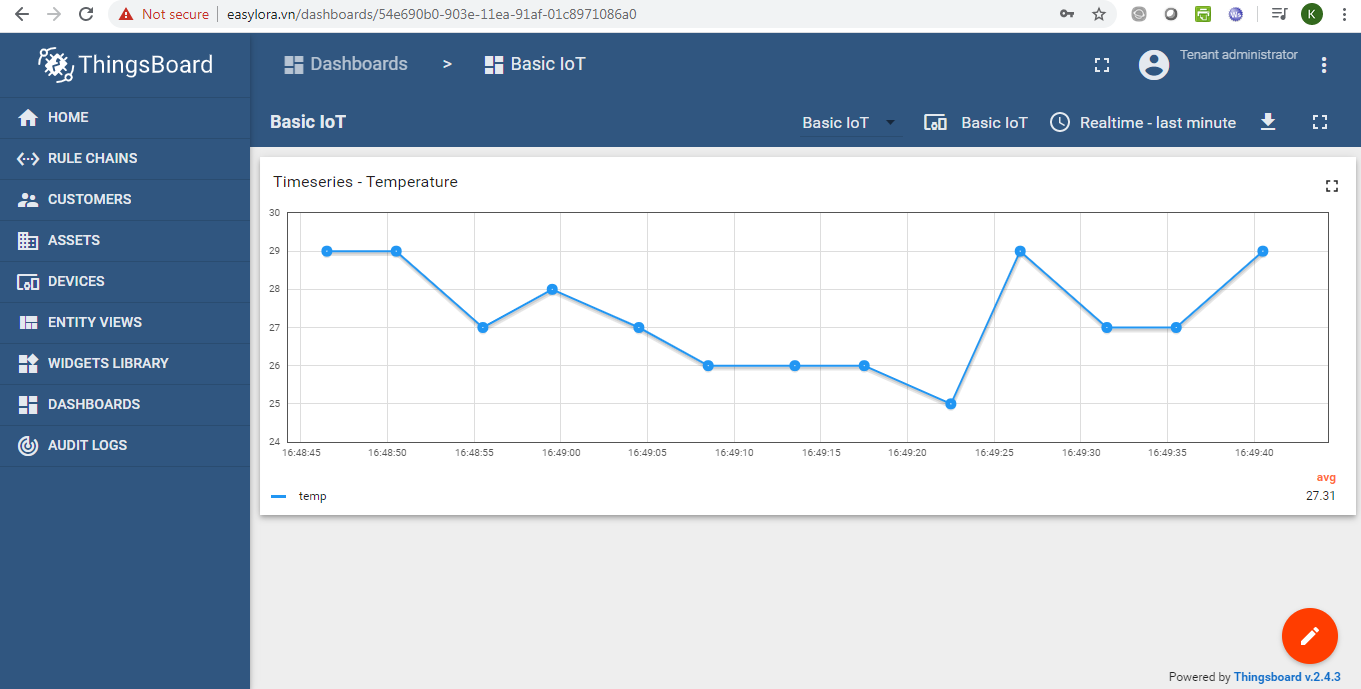
13. Make it bigger
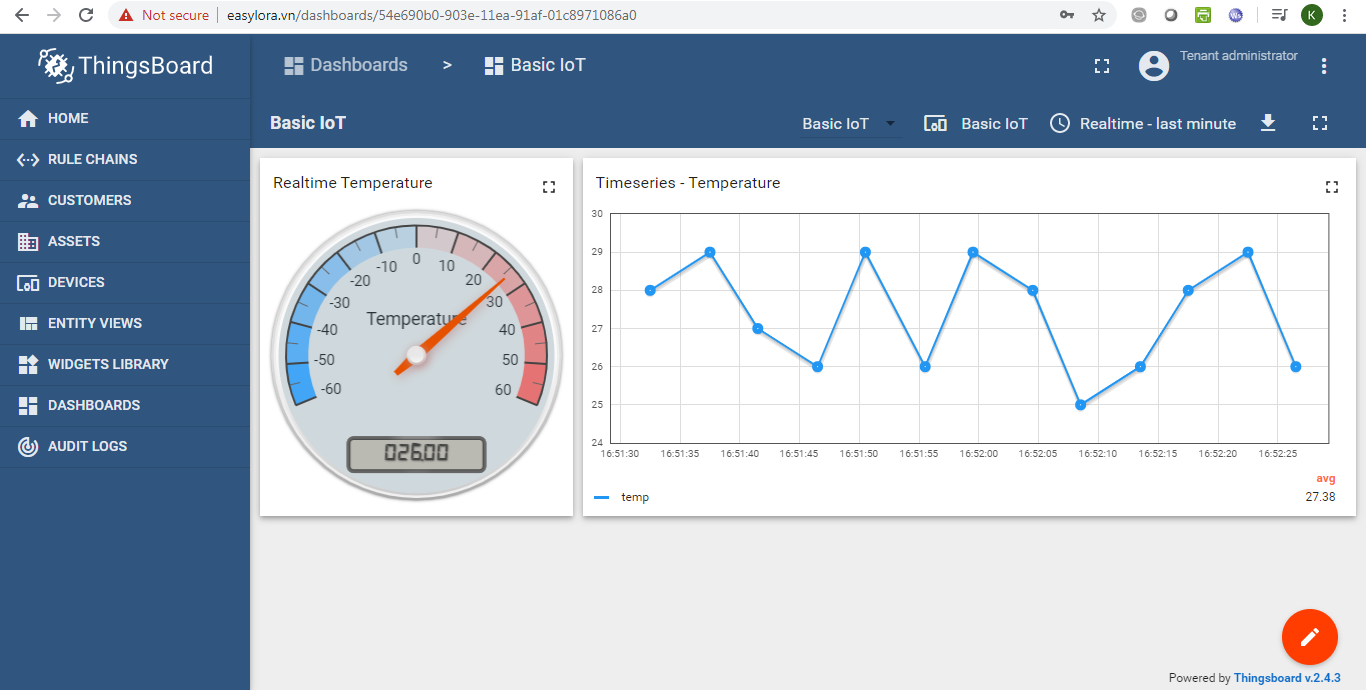
14. Do it yourself to add Analog gauge for Temperature
TODO:
- You need to put in sensor code in sensor.ino to send real sensor data to ThingsBoard.
- You need to put extra code to handle MQTT re-connection for WiFi disconnection.
Need help for your projects?
Please chat with us on the red chatbox to get help or discuss about your projects.
Thanks for reaching us.

Hi IoTThinks,
Do you have a free mobile app to see the graph as in the web version?
Thanks in advance.
Hi Kevin,
Yes, you can subscribe to our Easy LoRaWAN Cloud.
Start at 1 USD/month only.
https://iotthinks.com/easylorawan-cloud/
And you can enjoy the free Easy LoRaWAN app in iOS and Android.
iOS/iPhone: https://apps.apple.com/us/app/com.iotthinks/id1641061788
Android: https://play.google.com/store/apps/details?id=com.iotthinks