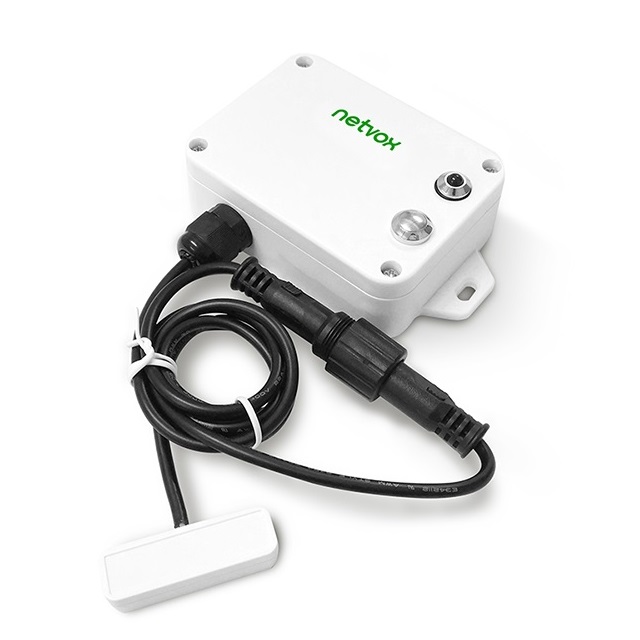
This guide will instruct you to use NetWox R718DB Vibration Sensor in Easy LoRaWAN Cloud.
- Product link: NetWox R718DB
- Datasheet: From NetWox
- User Guide: From NetWox
- Codec for NetWox R718DB: here
A. Basic Setup
Step 1: To read the full manual at the top of this guide.
Step 2: To turn on the node
- Power on: Insert batteries (Users may need a screwdriver to open)
- Turn on: Press and hold the function key for 3 seconds and the green indicator flash once.
- Turn off: (Restore to factory setting) Press and hold the function key for 5 seconds and the green indicator flashes 20 times.
- Power off: Remove Batteries.
Step 3: To get the keys of the node. We need Dev EUI and App Key for Easy LoRaWAN Cloud later.
- Dev EUI: On the label at the back of the node
- App EUI: To get from supplier/buyer
- App Key: To get from supplier/buyer
B. Codec
Codec is used by the LoRaWAN Server in later guide to decode the message to suitable format for human and the Cloud.
Step 1: Uplink payload is mentioned in the Section 5 of the manual.
- The manual is at the top of this guide.
Step 2: To get the codec of the node.
- The codec is at the top of this guide.
Need help for your projects?
Please chat with us on the red chatbox to get help or discuss about your projects.
Thanks for reaching us.


C. Set MinTime and MaxTime
Step 1: To understand how MinTime and MaxTime work:
Step 2: To set a sample downlink payload to set MinTime = 1 min, MaxTime = 1 min and BatteryChange = 0.1v
Step 3: To send a downlink command to the node to set the MaxTime and MinTime in step 2.
Note: This node is LoRaWAN Class A. Therefore, it will only receive the downlink command after it sends data to the server.
Next Steps:
Done.