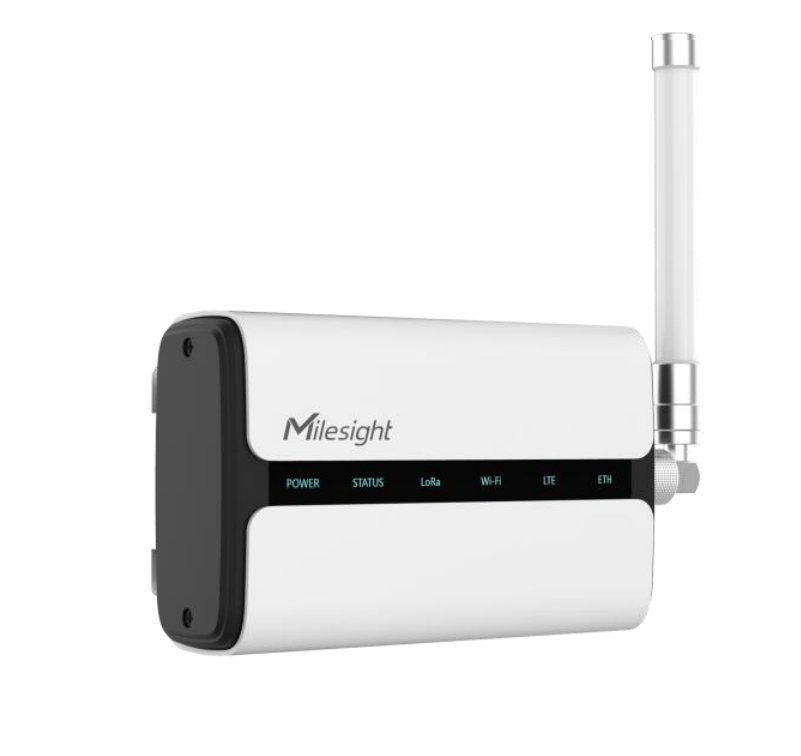
This guide will instruct you to use Milesight UG65 LoRaWAN Gateway in Easy LoRaWAN Cloud.
- Product & Documentation: Milesight UG65
- User Guide: Milesight UG65

1. Basic Setup
Step 1: To plug the gateway to power
Step 2: To search for WiFi AP “Gateway_******” to connect to it.
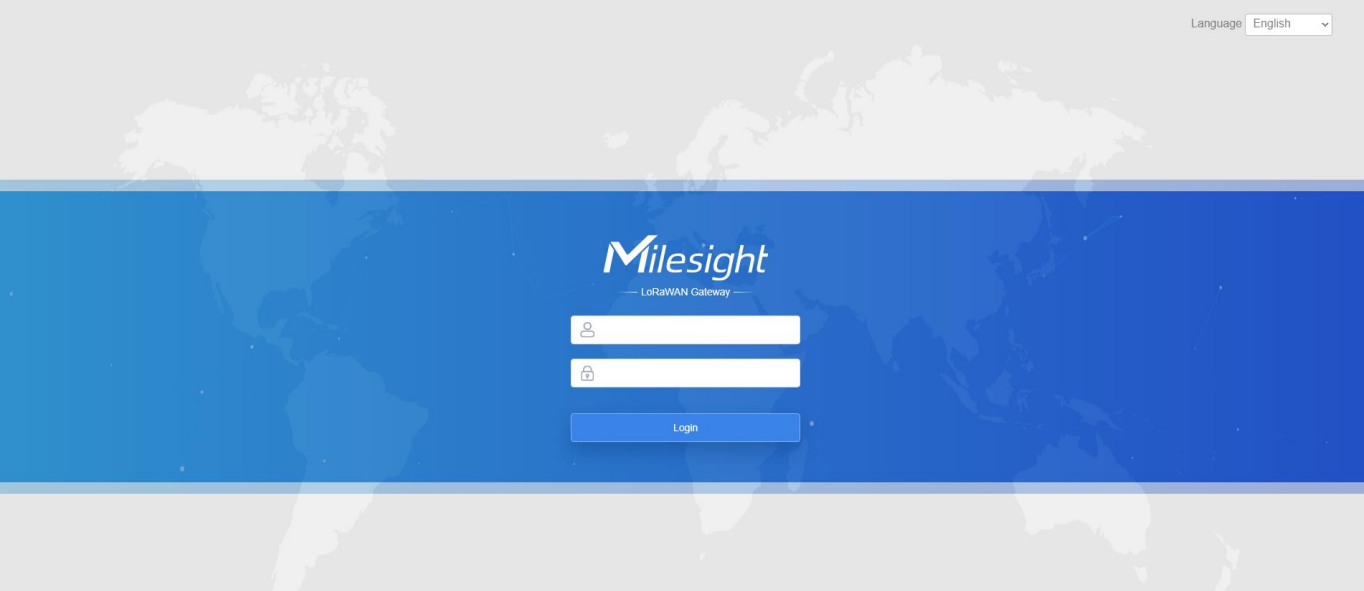
Step 3: To open a Web browser on your laptop / PC and type 192.16.1.1 to access the web GUI.
- The default username is admin
- The default password is password

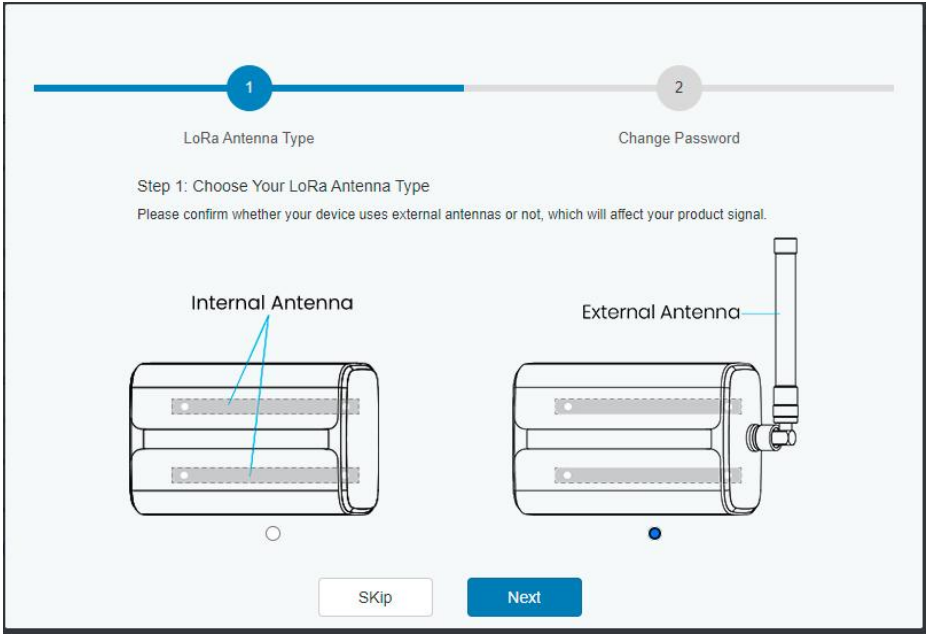
Step 4: To follow the guide to complete the basic configurations.

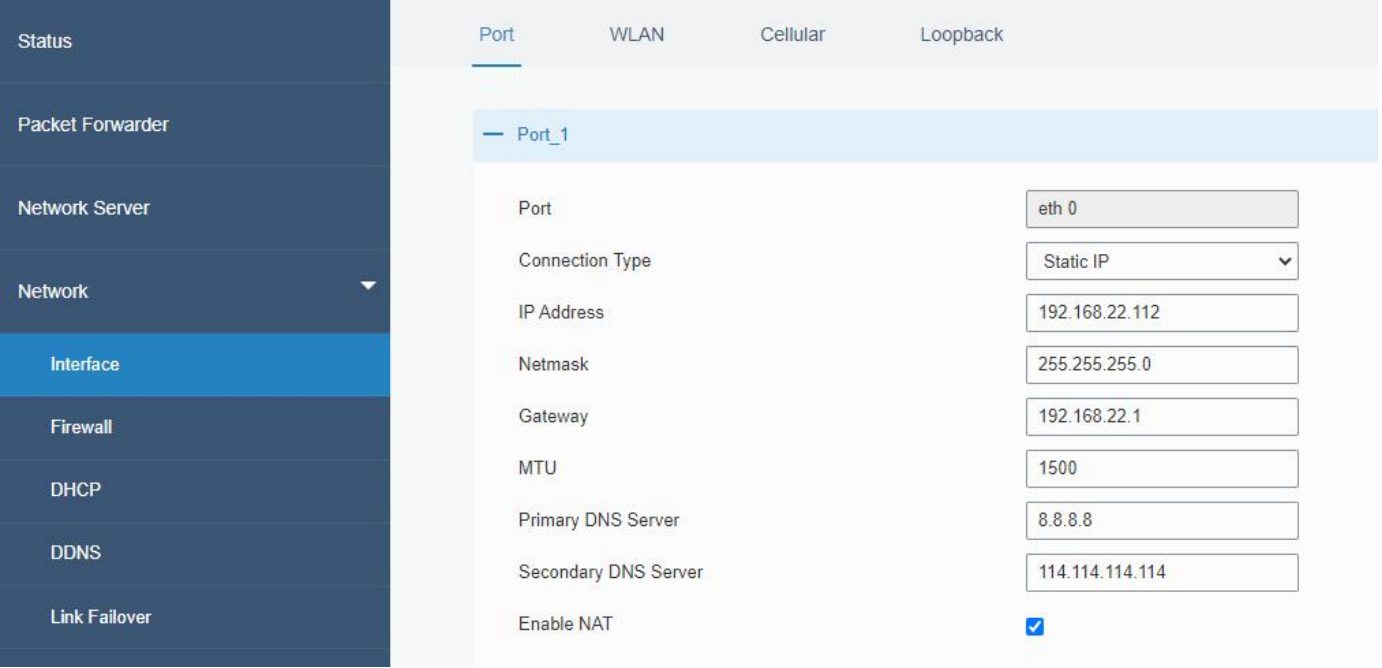
Step 5: To connect gateway to Cellular, Wired LAN or WiFi so the gateway can connect to a network.

Need help for your projects?
Please chat with us on the red chatbox to get help or discuss about your projects.
Thanks for reaching us.


2. LoRaWAN Configuration
We will use Packet Forwarder to connect the gateway to Easy LoRaWAN server
Step 1: To click Packet Forwarder on the left menu
Step 2: To click on General and take note the Gateway EUI
Step 3: To select Internal Antenna or External Antenna
Step 4: To select a region for LoRaWAN.
Step 5: To connect to Easy LoRaWAN server
Step 6: To fill in the network server information
Next: Now you can continue to add your gateway to Easy LoRaWAN Cloud in the guides.